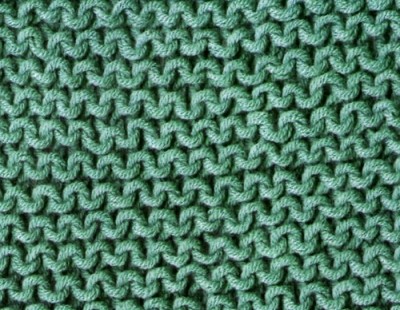
Knitting Motif Pattern 7
PATTERN 7
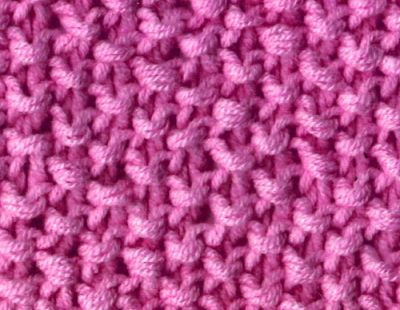
1 reverse, 1 straight knuckle, 1 knight (raise), (end of row ends with 1 reverse after 1 knight). Embroider the knitted one (the previous row looks straight, in this order), 1 knit, purls (the 1st row blank appears reversed in this row), knit 2 together with the knitted loop in the previous row. 2nd row 1 blank, 1 knight, 2 reverses (pairs reverse, straights blank and toss).
When creating a pattern: The stitches given in each row are for a motif. It is to repeat one after the other according to the width of the piece to be done. Example: If given 2 straight edges, 1 knit, 2 purl, 7 straight, what to do: 2 straight edges, 1 knit, 2 purl, 7 knit, 1 knit, 2 purl, 7 knit, 1 knit, 2 purl, 7 knit stitches up to your number.
If you are going to make use of the graphic while creating the motif, be sure to consider the written explanation. It just might not be graphic sweaty. On some charts you will see loops in black. Black loops are loops that are not. If the box is black, it means that the turn motif is finished there. It's back to the beginning. Do not visualize the overlapping colors on the chart as if they were a painting.
■ Purl ■ Empty ■ Increase ■ 2 Purl together
They will not overlap in the mesh. Example: Consider only the 1st row for the loops given in the 1st row. Each row is independent, not linked. In order not to be mistaken, rely on the written explanation. Headings in the chart start from the side where the ordinal number is written. Just like the side where the 1st row number 1 is written, the 2nd row number 2 is written...
